How to Install Lightroom Presets: The Complete Guide for Classic, CC and Mobile
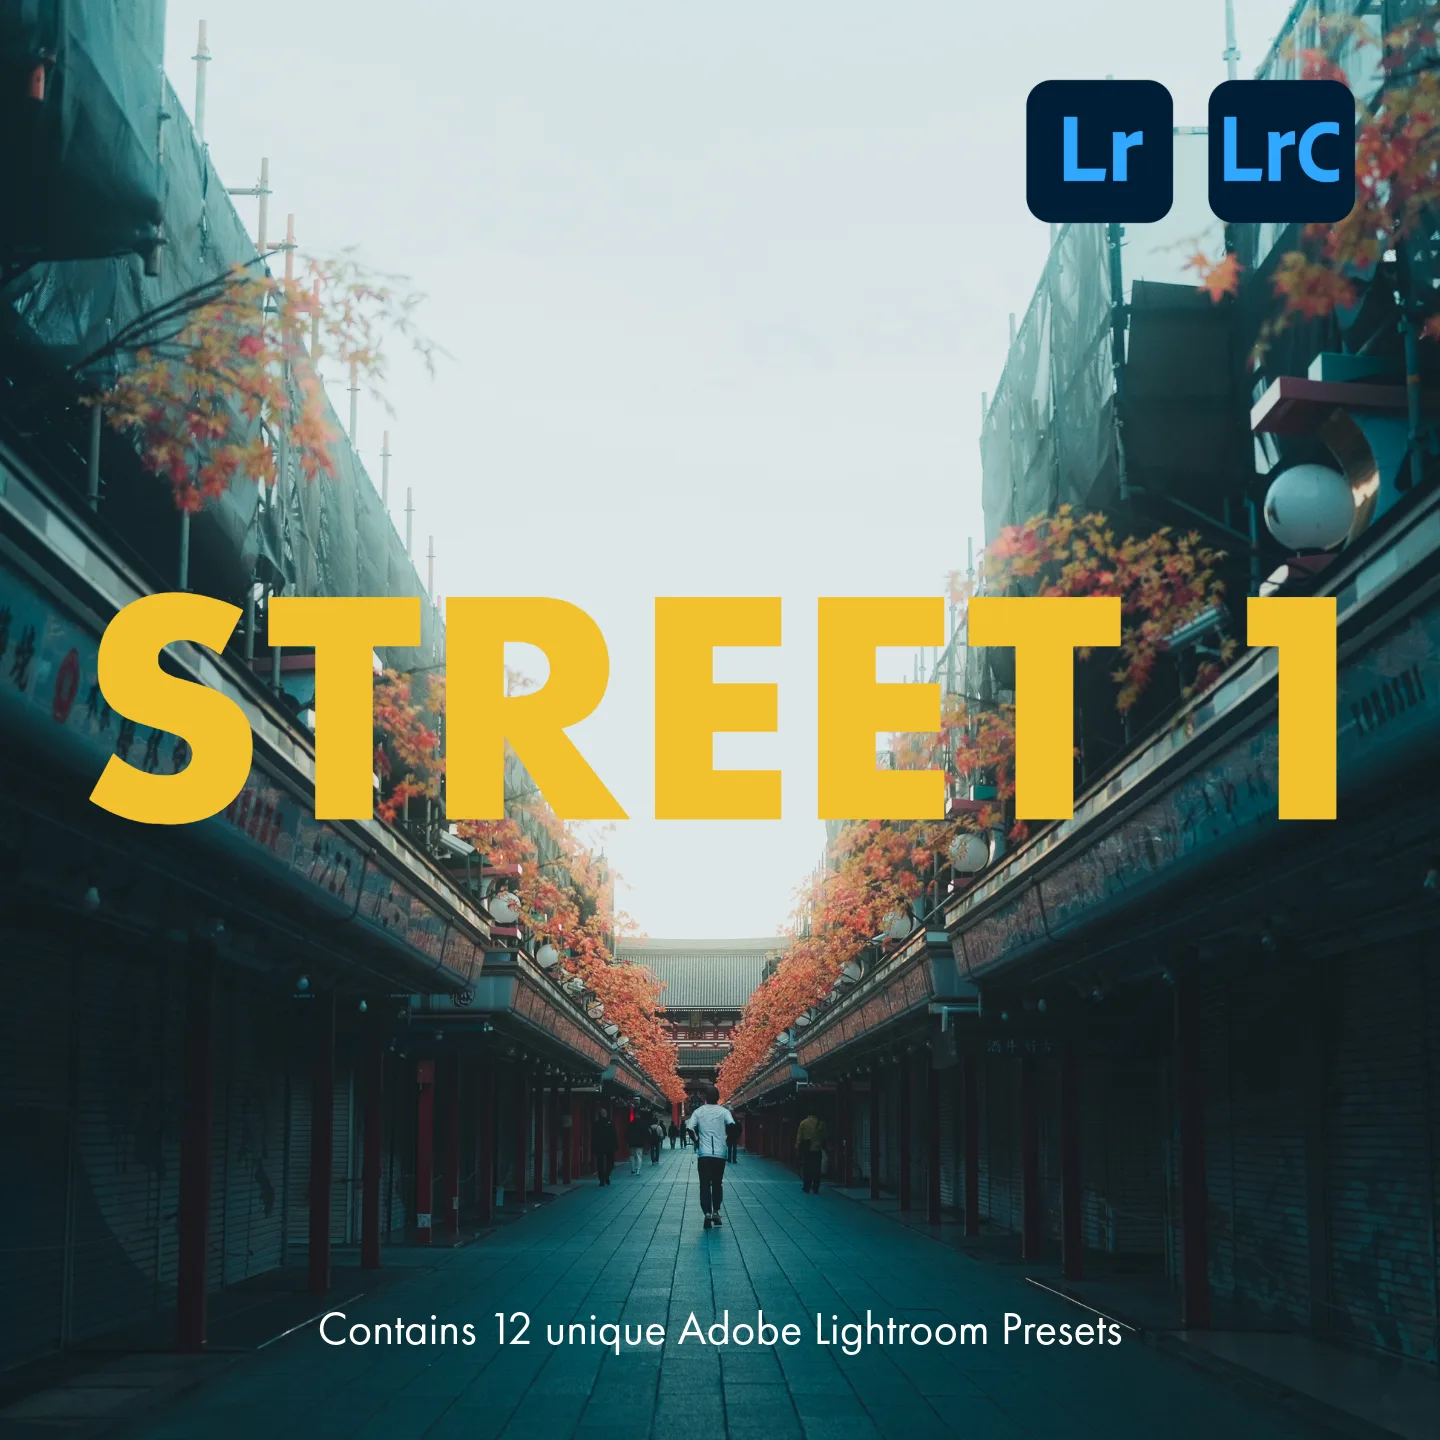
You bought a new preset pack or downloaded some free presets, and now a dozen .xmp files are sitting on your computer that Lightroom doesn't quite know what to do with? Don't worry: installing Lightroom presets takes less than two minutes. In Lightroom Classic you import presets via File → Import Develop Profiles and Presets, in Lightroom CC via File → Import Profiles and Presets. After that you'll find everything in the Presets panel and can apply the looks with a single click.
This guide is for anyone who wants to get their presets working, whether you just bought your first preset pack or simply forgot where the import dialog lives. I'll walk you step by step through the import in Adobe Lightroom Classic, Adobe Lightroom (formerly Lightroom CC) and Lightroom Mobile, show you how to fine-tune the presets afterwards, and what to do when they refuse to show up.
In short: the essentials in 30 seconds
- Download the preset pack as a ZIP file and extract it.
- Lightroom Classic: Open the Develop module → File → Import Develop Profiles and Presets → select all .xmp files. Alternatively: click the + icon in the Presets panel.
- Lightroom CC: Select an image → File → Import Profiles and Presets → select all .xmp files.
- Lightroom Mobile: Import the presets once into Lightroom CC (desktop); they automatically sync to your phone.
- Important: Really select all .xmp files, otherwise dependent presets may not work as intended.
Table of Contents
- What exactly are Lightroom presets?
- Preparation: Download and extract the preset pack
- Install presets in Lightroom Classic
- Import presets into Lightroom CC
- Use presets in Lightroom Mobile
- Apply presets and fine-tune them properly
- Common problems and their solutions
- FAQ: Frequently asked questions about installing presets
- Conclusion: Your own look in two minutes
What exactly are Lightroom presets?
A preset (also called a develop preset) is a saved collection of editing settings. Instead of adjusting exposure, contrast, white balance and tone values individually for every image, you click a preset once, and Lightroom applies all the saved values in one go. That saves time and gives you a consistent look across an entire series of images.
Current Lightroom versions store presets in the .xmp format. The older .lrtemplate format dates back to versions before Lightroom Classic 7.3 (April 2018) and is converted automatically on import. When you buy a preset pack today, you almost always get .xmp files, often bundled in a ZIP archive.
By the way: many modern preset packs include profiles alongside presets. A preset fixes the position of the sliders, while a profile acts like a color filter that sits in front of all the sliders. Good packs combine both: the profile delivers the base look, the preset the fine-tuning. You install both through the same import dialog. So there's nothing special to watch out for.
Preparation: Download and extract the preset pack
Before Lightroom comes into play, you need the preset files on your computer. After buying a preset pack, you usually receive an email with the download link. Free presets can be downloaded directly from the provider's website.
Here's what to do:
- Download the ZIP file and save it somewhere you'll find it again, for example in a “Lightroom Presets” folder in your documents.
- Extract the ZIP file: On Windows via right-click → “Extract All”, on Mac with a double-click.
- Check the contents: The extracted folder should contain several .xmp files, one per preset, possibly plus profile files.
Tip: Lightroom Classic can also import ZIP archives directly, without you extracting them first. Extracting gives you better control, though, and it makes sure you really select all included files. That's exactly what matters for packs where presets build on shared profiles: if one file is missing, the look can be distorted.
Install presets in Lightroom Classic
Lightroom Classic is the catalog-based desktop version. Imported presets end up in the Presets panel on the left side of the Develop module. There are two equally good options.
Option 1: Via the File menu
- Launch Lightroom Classic and switch to the “Develop” tab at the top right.
- In the menu bar, click File → Import Develop Profiles and Presets….
- In the dialog, navigate to the folder where you extracted the ZIP file.
- Select all the .xmp files inside (keyboard shortcut Ctrl+A or Cmd+A) and confirm with “Import”.
- Done! The presets appear as their own group in the Presets panel on the left.
Option 2: Via the + icon in the Presets panel
- Open the Develop module.
- Click the + icon at the top left of the Presets panel.
- Choose “Import Presets…”.
- Again select all .xmp files (or the ZIP file directly) and confirm.
Both options lead to the same result. The second is slightly faster, the first more reliable when you're importing profiles alongside presets.
Important for both options: Always select all of the pack's .xmp files. Many packs, for example those with a base preset and several variants, use a shared camera profile as their foundation. If you select only individual files, that very foundation may be missing, and the presets won't work as the creator intended.
Alternative: Copy presets into the folder manually
If the import dialog ever acts up, there's a manual route via the file path:
- In Lightroom Classic, open the Preferences (Windows: Edit → Preferences; Mac: Lightroom Classic → Settings).
- Switch to the “Presets” tab and click “Show Lightroom Develop Presets”.
- The Camera Raw/Settings folder opens. Copy the extracted .xmp files (or the entire preset folder) into it.
- Restart Lightroom Classic. The presets appear in the panel.
Official Adobe guide: Presets in Lightroom Classic: FAQ
Import presets into Lightroom CC
The cloud version (long called “Lightroom CC” and now officially just “Lightroom”) works a little differently: there's no Develop module here, and the Presets panel sits on the right side. The import itself is just as simple, though:
- Launch Lightroom and select any image so the editing view is active.
- Click File → Import Profiles and Presets….
- Navigate to the folder with the extracted files.
- Select all .xmp files and confirm with “Import”.
- You'll now find the presets in the Presets panel on the right, grouped by preset pack.
The same applies here: Select all files. Especially with packs that have a base preset and several variants, the looks depend on the shared profiles. An incomplete selection leads to incomplete results.
Alternatively, you can also reach the import via the three-dot menu at the top of the Presets panel on the right → “Import Presets…”.
Official Adobe guide: Install presets and profiles in Lightroom: FAQ
Use presets in Lightroom Mobile
On your smartphone or tablet you have two options, and the first one is much more convenient.
Method 1: Automatic sync via Lightroom CC (recommended)
If you have a Creative Cloud subscription, you don't need to import anything on your phone:
- Import the presets into Lightroom CC on your desktop as described above. Important: into Lightroom CC, not Lightroom Classic, because only the cloud version syncs presets.
- Make sure you're logged in with the same Adobe ID on desktop and phone.
- Open the Lightroom mobile app. After a short sync, the presets automatically appear in your presets section.
This works the same way for newly imported presets: everything you import into Lightroom CC lands on your mobile devices via the cloud.
Method 2: Import directly in the mobile app
It also works without a desktop. Handy when you buy a pack on the go:
- Transfer the ZIP file (or the extracted .xmp files) to your phone, via email, a cloud service or AirDrop.
- Open any photo in the Lightroom app. Only then does the presets menu appear.
- Tap “Presets” at the bottom, then the three-dot menu at the top right.
- Choose “Import Presets” and navigate to the file.
- The presets appear under “Yours” → “User Presets”.
Depending on the app version, Lightroom Mobile accepts the ZIP file directly; if the import fails, extract the archive first (on Android, for example, with a file manager app) and select the individual .xmp files.
Official Adobe guide: Import and export presets in Lightroom Mobile
Apply presets and fine-tune them properly
Installed doesn't mean finished: the actual look only emerges when you apply it. A few tips from practice:
The base look with one click
Select an image in the Develop module (Classic) or the editing view (CC) and click the preset you want. All saved values are applied instantly. Hover your mouse over a preset and Lightroom shows you a live preview before you click.
Adjust exposure and white balance individually
No preset in the world fits every photo 100 %, since lighting conditions and cameras differ too much. Well-made packs take this into account: some creators (myself included) deliberately leave the sliders for basic settings like exposure and white balance untouched, so you can fine-tune exactly these values per image without destroying the preset's style. For even faster corrections, some packs include additional “quick settings”, small helper presets that only change a single value.
RAW delivers the best results
Presets reach their full potential with RAW files, because the complete image latitude is available for color and contrast adjustments. JPEGs can be edited with them too, though to a limited extent, and Lightroom hides purely profile-based looks entirely for some JPEGs. So if you have the choice: shoot RAW.
Use variants as a starting point
Many packs are built as a system: a subtle base look plus variants for specific moods, such as warmer for summer evenings or desaturated for the analog film look. Pick the variant that suits the scene and refine from there.
Don't forget masks
The difference between a “nice image” and a “wow image” often lies in local adjustments, such as a darkened edge or an emphasized sky. Some packs include their own masking presets for this. They're meant as a starting point that you adapt to your individual photo.
Common problems and their solutions
Almost every installation problem can be traced back to a handful of causes. Here are the most common ones:
The presets don't show up after importing
First restart Lightroom. That solves the problem in most cases. Also check whether you're in the right module: in Lightroom Classic, presets only appear in the Develop module, not in the Library.
Only some of the presets are visible
Some presets are only “partially compatible” with the selected photo, for example when they contain profiles meant for RAW files but you have a JPEG open. In Lightroom Classic you can show them: enable Preferences → Presets → “Show partially compatible develop presets”.
The presets have disappeared in a specific catalog
If you work with multiple catalogs, check the Preferences under the “Presets” tab whether the option “Store presets with this catalog” is enabled. Disable it so the presets are available across catalogs.
The look doesn't match the example images
Then you probably didn't select all .xmp files during import. Simply import the complete pack again. Lightroom recognizes duplicates and updates the existing files.
The ZIP file won't import
In Lightroom Classic and CC, importing ZIP archives directly should work. If it doesn't, extract the archive and select the individual .xmp files. The same applies to the mobile app.
You're still using a very old Lightroom version
Versions before Lightroom Classic 7.3 (before April 2018) can't import .xmp files. In that case you need the old .lrtemplate format. Ask the pack's provider whether they offer it, or update Lightroom.
FAQ: Frequently asked questions about installing presets
Can I import the ZIP file directly without extracting it?
Yes, in Lightroom Classic and Lightroom CC you can select the ZIP file directly in the import dialog. Lightroom extracts it automatically. Extracting beforehand is still recommended: you see all included files and make sure you don't miss anything.
What's the difference between .xmp and .lrtemplate?
.xmp is the current preset format that Lightroom has used since version 7.3 (April 2018). .lrtemplate is the older format from Lightroom 4 to 6 and early Classic versions. When importing old .lrtemplate files, Lightroom converts them to .xmp automatically. The reverse doesn't work.
Do Lightroom presets also work with JPEG files?
In principle yes, but with limitations: presets that build on specific camera profiles are partially hidden for JPEGs or have a weaker effect. For the full effect you should shoot in RAW, because that's where the complete latitude for color and contrast adjustments is available.
Why can't I see my imported presets?
The three most common causes: Lightroom wasn't restarted after the import, the presets are only “partially compatible” and are being hidden, or the “Store presets with this catalog” option is enabled. The troubleshooting section above walks you step by step to the solution.
Can I transfer presets from Lightroom Classic to Lightroom CC?
Yes. On the first launch of Lightroom CC (desktop), existing Classic presets are migrated automatically. Presets added later can be imported via File → Import Profiles and Presets. They're stored in the Camera Raw/Settings folder. From Lightroom CC they then also sync to your mobile devices.
How many presets can I install?
There's no fixed limit. Hundreds of presets are no problem. For the sake of clarity, though, you should organize them into groups (right-click in the Presets panel → create a new group). Too many unused presets bloat the panel and slow down your workflow rather than the program.
Conclusion: Your own look in two minutes
Installing Lightroom presets is no rocket science: extract the ZIP, open the import dialog, select all .xmp files, done. In Lightroom Classic you'll then find the looks on the left in the Presets panel, in Lightroom CC on the right, and on your phone automatically via cloud sync. The decisive step happens afterwards: take a few images, try the variants, and adjust exposure and white balance per photo. That's how a purchased preset becomes your own style.
Don't have a preset pack yet, or looking for a versatile place to start? Then check out my Basic Chrome preset pack: a subtle base preset with twelve distinctive variants (from a warm summer look to a cool night mood), deliberately built so the basic settings stay free and you can refine every image individually. To the Basic Chrome preset pack And if you like it: I'd really appreciate a review on my website. It helps other photographers with their decision and me with developing new looks.
Related
- Ultimate Preset Bundle – both STREET packs (26 presets) plus 12 months of new packs for €29.99.
- Single packs in the shop – STREET 1 "Basic Chrome" and STREET 2 "Classic Negative" at €19.99 each.
- Lightroom presets not showing up? – the 7 most common causes and their fixes.